Lettering and card layout guides that will help you add your magic to cards this holiday season!
the VALENTINE LETTERING WORKBOOK
I have a feeling this is what you’ve been needing to help you!


WHAT’S INCLUDED
THE MERRY CHRISTMAS & HAPPY HOLIDAYS WORKBOOKS
? Digital Download emailed straight to you
Step-by-step breakdown
Traceable guides with my lettering
Card layout templates (game changer!)
Valentine card ideas
Mini videos accessed through QR codes
What you will learn:
→ Simple & powerful ways to change things up.
→ The ability to letter each phrase differently.
→ Confidence to letter your own card using the template boxes.
Testimonial on the Workbooks
“This Workbook was just what I needed to get my foot in the door to making beautiful calligraphy cards! Nicole really took the time to teach the individual details that will make your lettering stand out. I’m a beginner, but I’m proud to say that by the end of this workbook I felt like a pro!”
- Jessica
What’s Inside the Workbooks
↓
Card Layout Templates
The boxes are designed for cards size 4.5” x 6” and 5” x 7”. This takes away the pressure of figuring out the layout or keeping your letters on a straight line.

Card Inspiration Ideas
I totally get how staring at a blank page can stop you from creating! Included are ideas to go with the templates and you can watch some reels on my IG: @nicolemiyuki

Mini Videos to Guide You
When you print out the workbooks, you will see QR codes sprinkled through out. Use your phone to watch the little videos I recorded for you.

HOW TO USE THE LAYOUT BOXES
Step 1
Draw your letters inside the layout squares.
The squares are sized and designed for cards so all you have to do is add your letters. Which by this time in the workbook you will be comfortable with!

Step 2
Use a light pad (or a window with light shining) through to trace on card.
In this step you will use a pencil to trace your lettering onto your card. And if you don’t have a light pad, here is a link to the one I use!

Step 3
Use paint or markers to trace over your pencil lettering.
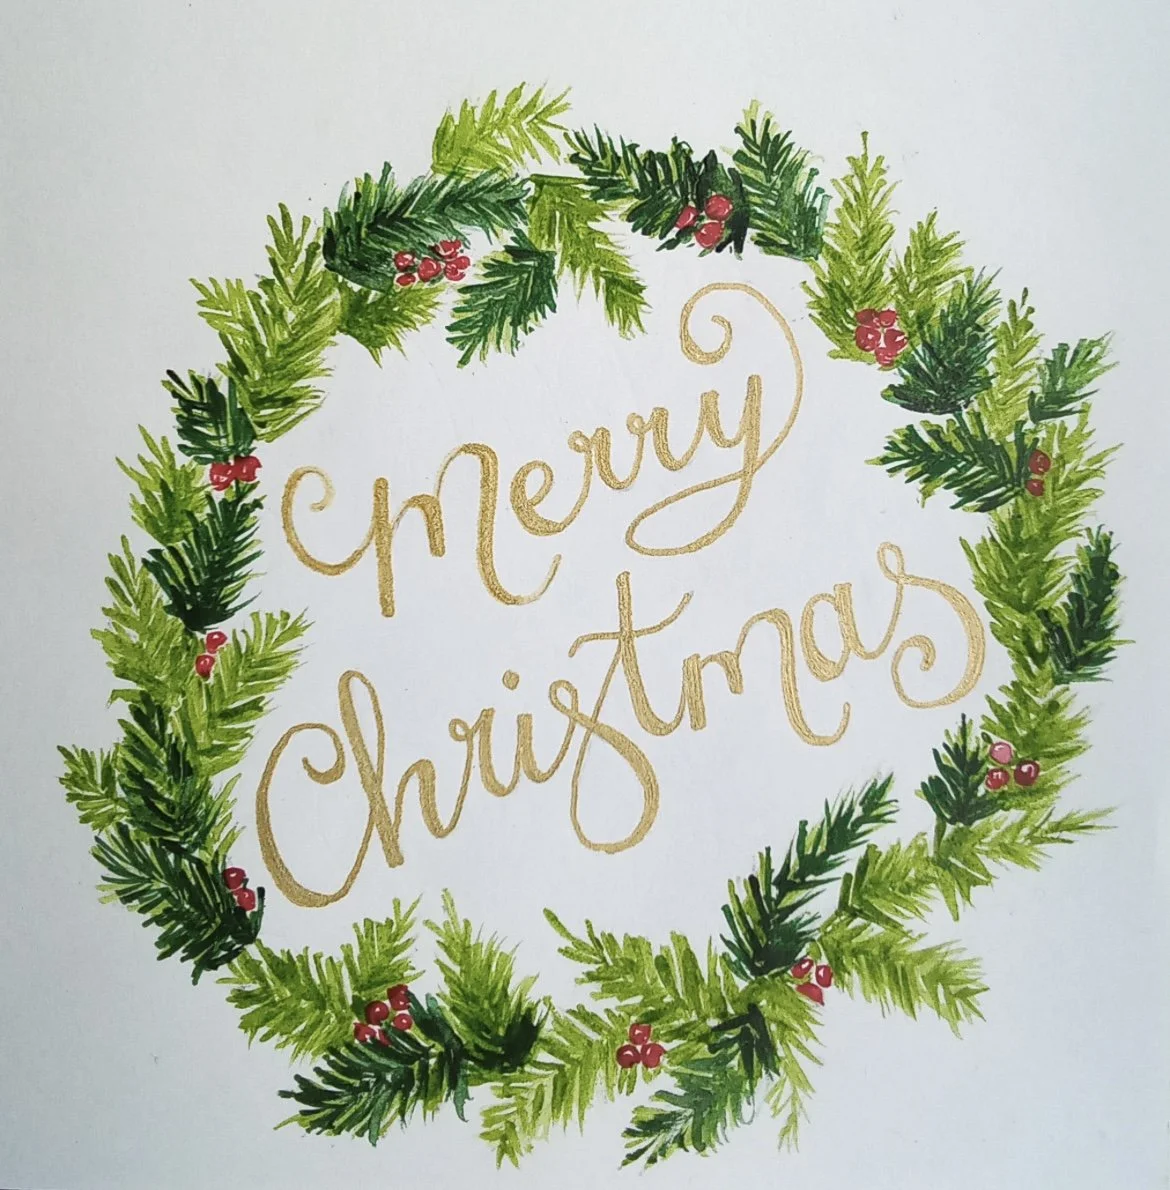
You did the hard part so now you can design your cards however you like! In this example, I painted a watercolor wash and then traced the lettering with gold paint. This is the metallic set I’m loving!

Testimonial on the Workbooks
“The biggest and best discovery for me is what a difference it makes writing inside your boxes - it's a game changer. I've never used a guide like that before and I can't tell you how much easier it feels."
- Deb
Get ready for real transformation
The Holiday Lettering
Digital Workbooks

$25 now $15
✔ Digital workbooks you can print over and over again
✔ Go at your own pace
✔ Ready-to go card templates
But wait there's more
But wait there's more

Done For You Holiday Phrases
$12 now $5
If you want 20 more phrases and have them ready for you in three different styles to just trace, I’ve got you.
If you have a beautifully designed Christmas card already but don’t want to use a generic font, you can simply trace my lettering onto your card!
You can either buy this on it’s own for $8, or add it on to your Holiday Lettering Workbooks for $5! When you check out, you’ll add on the product for the deal.
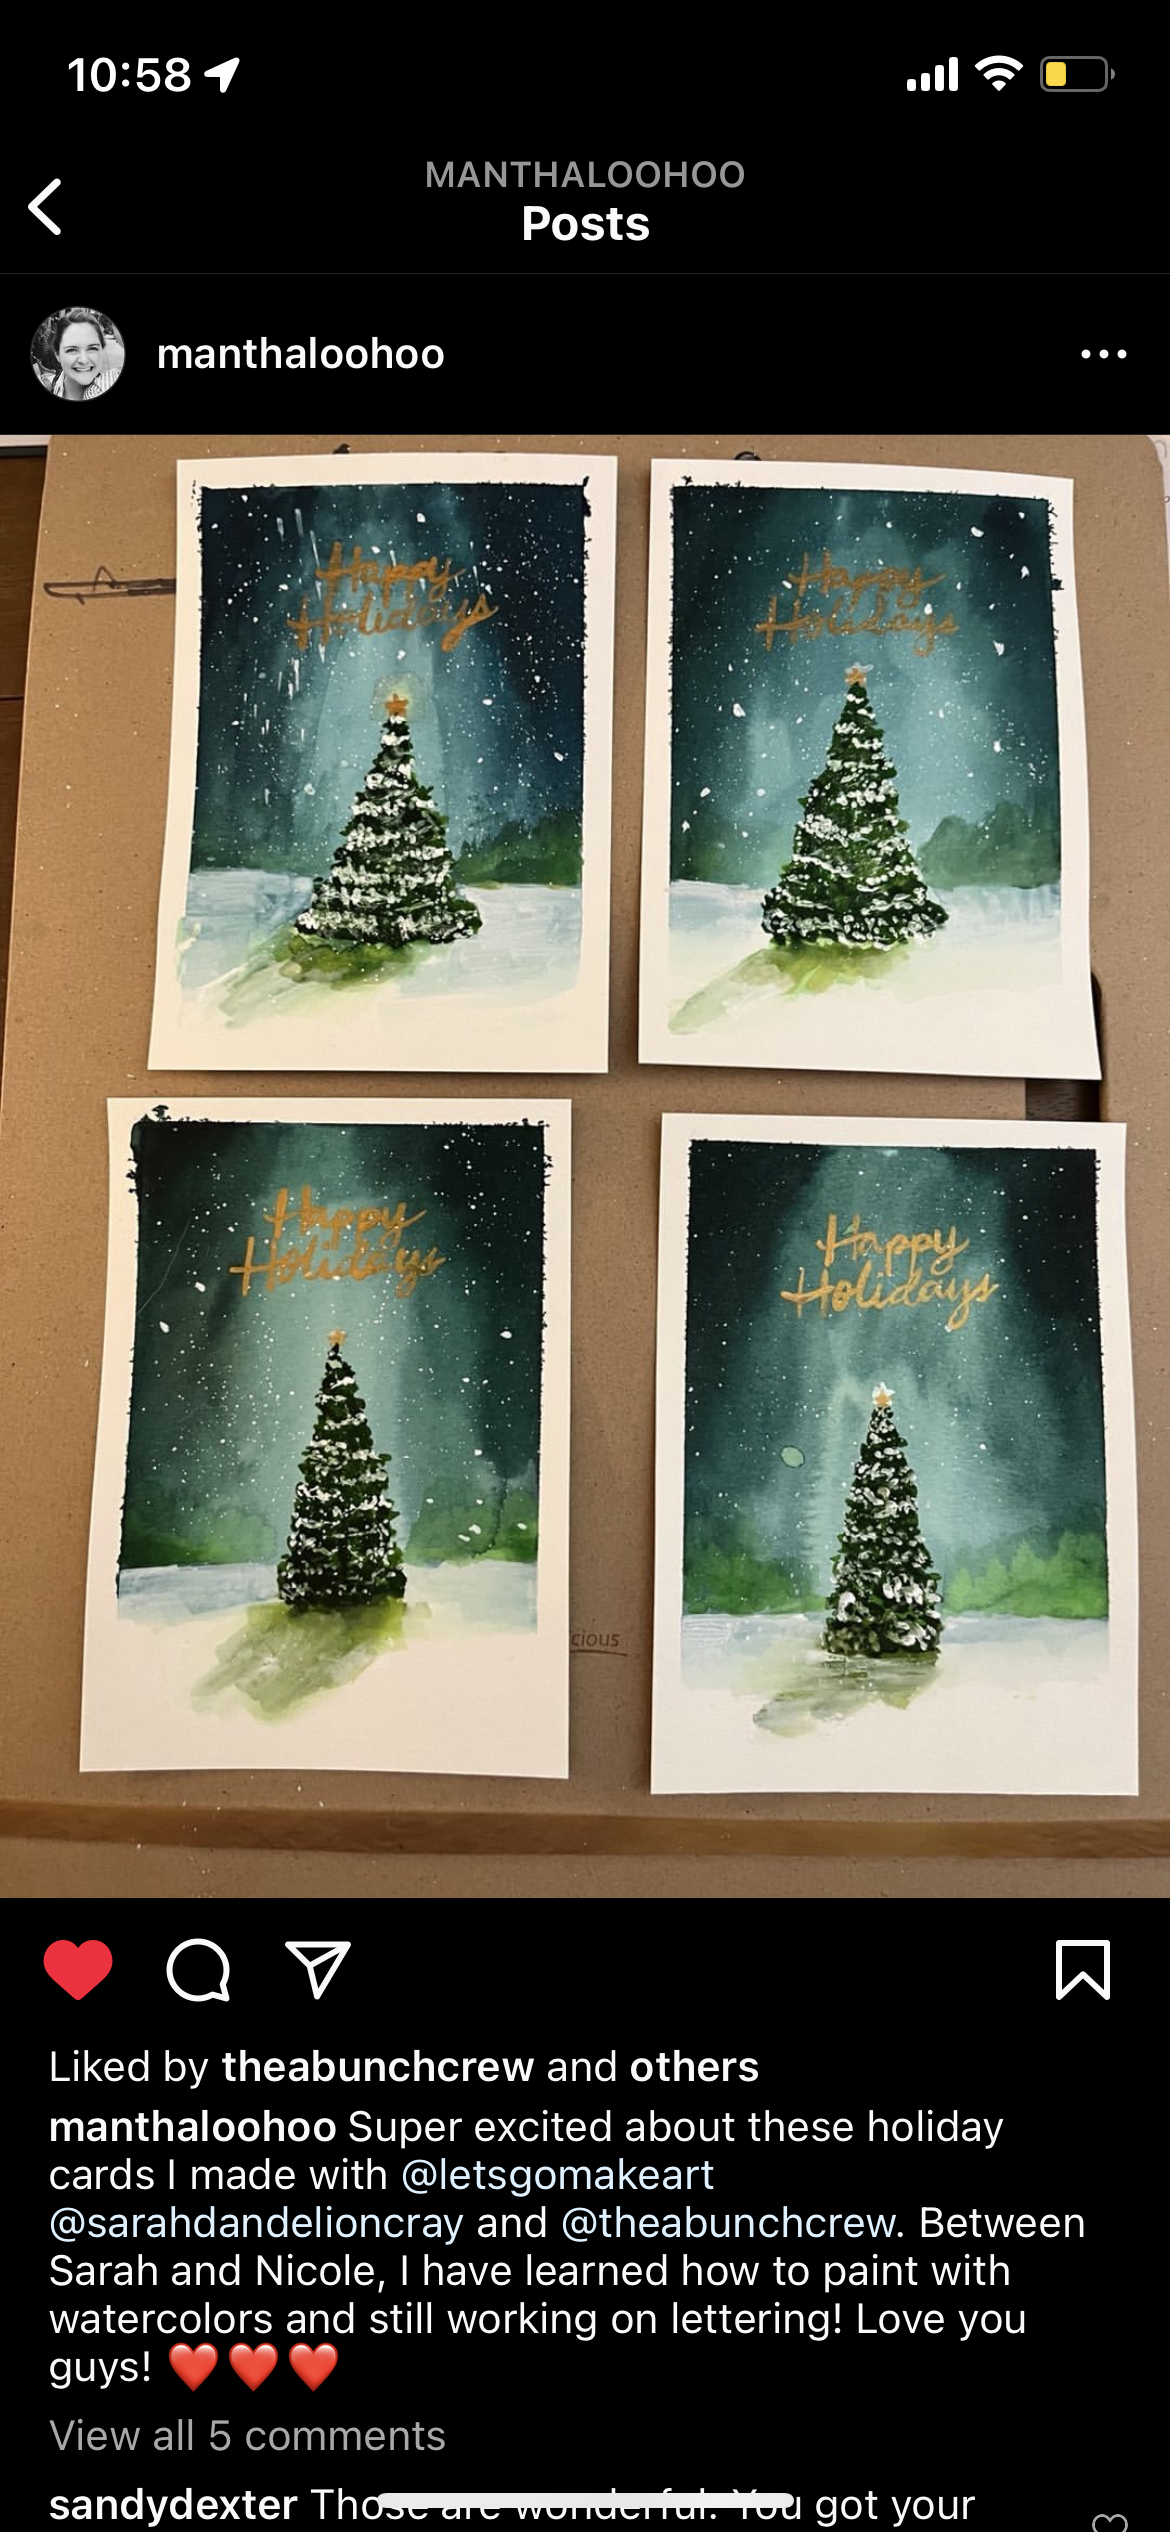
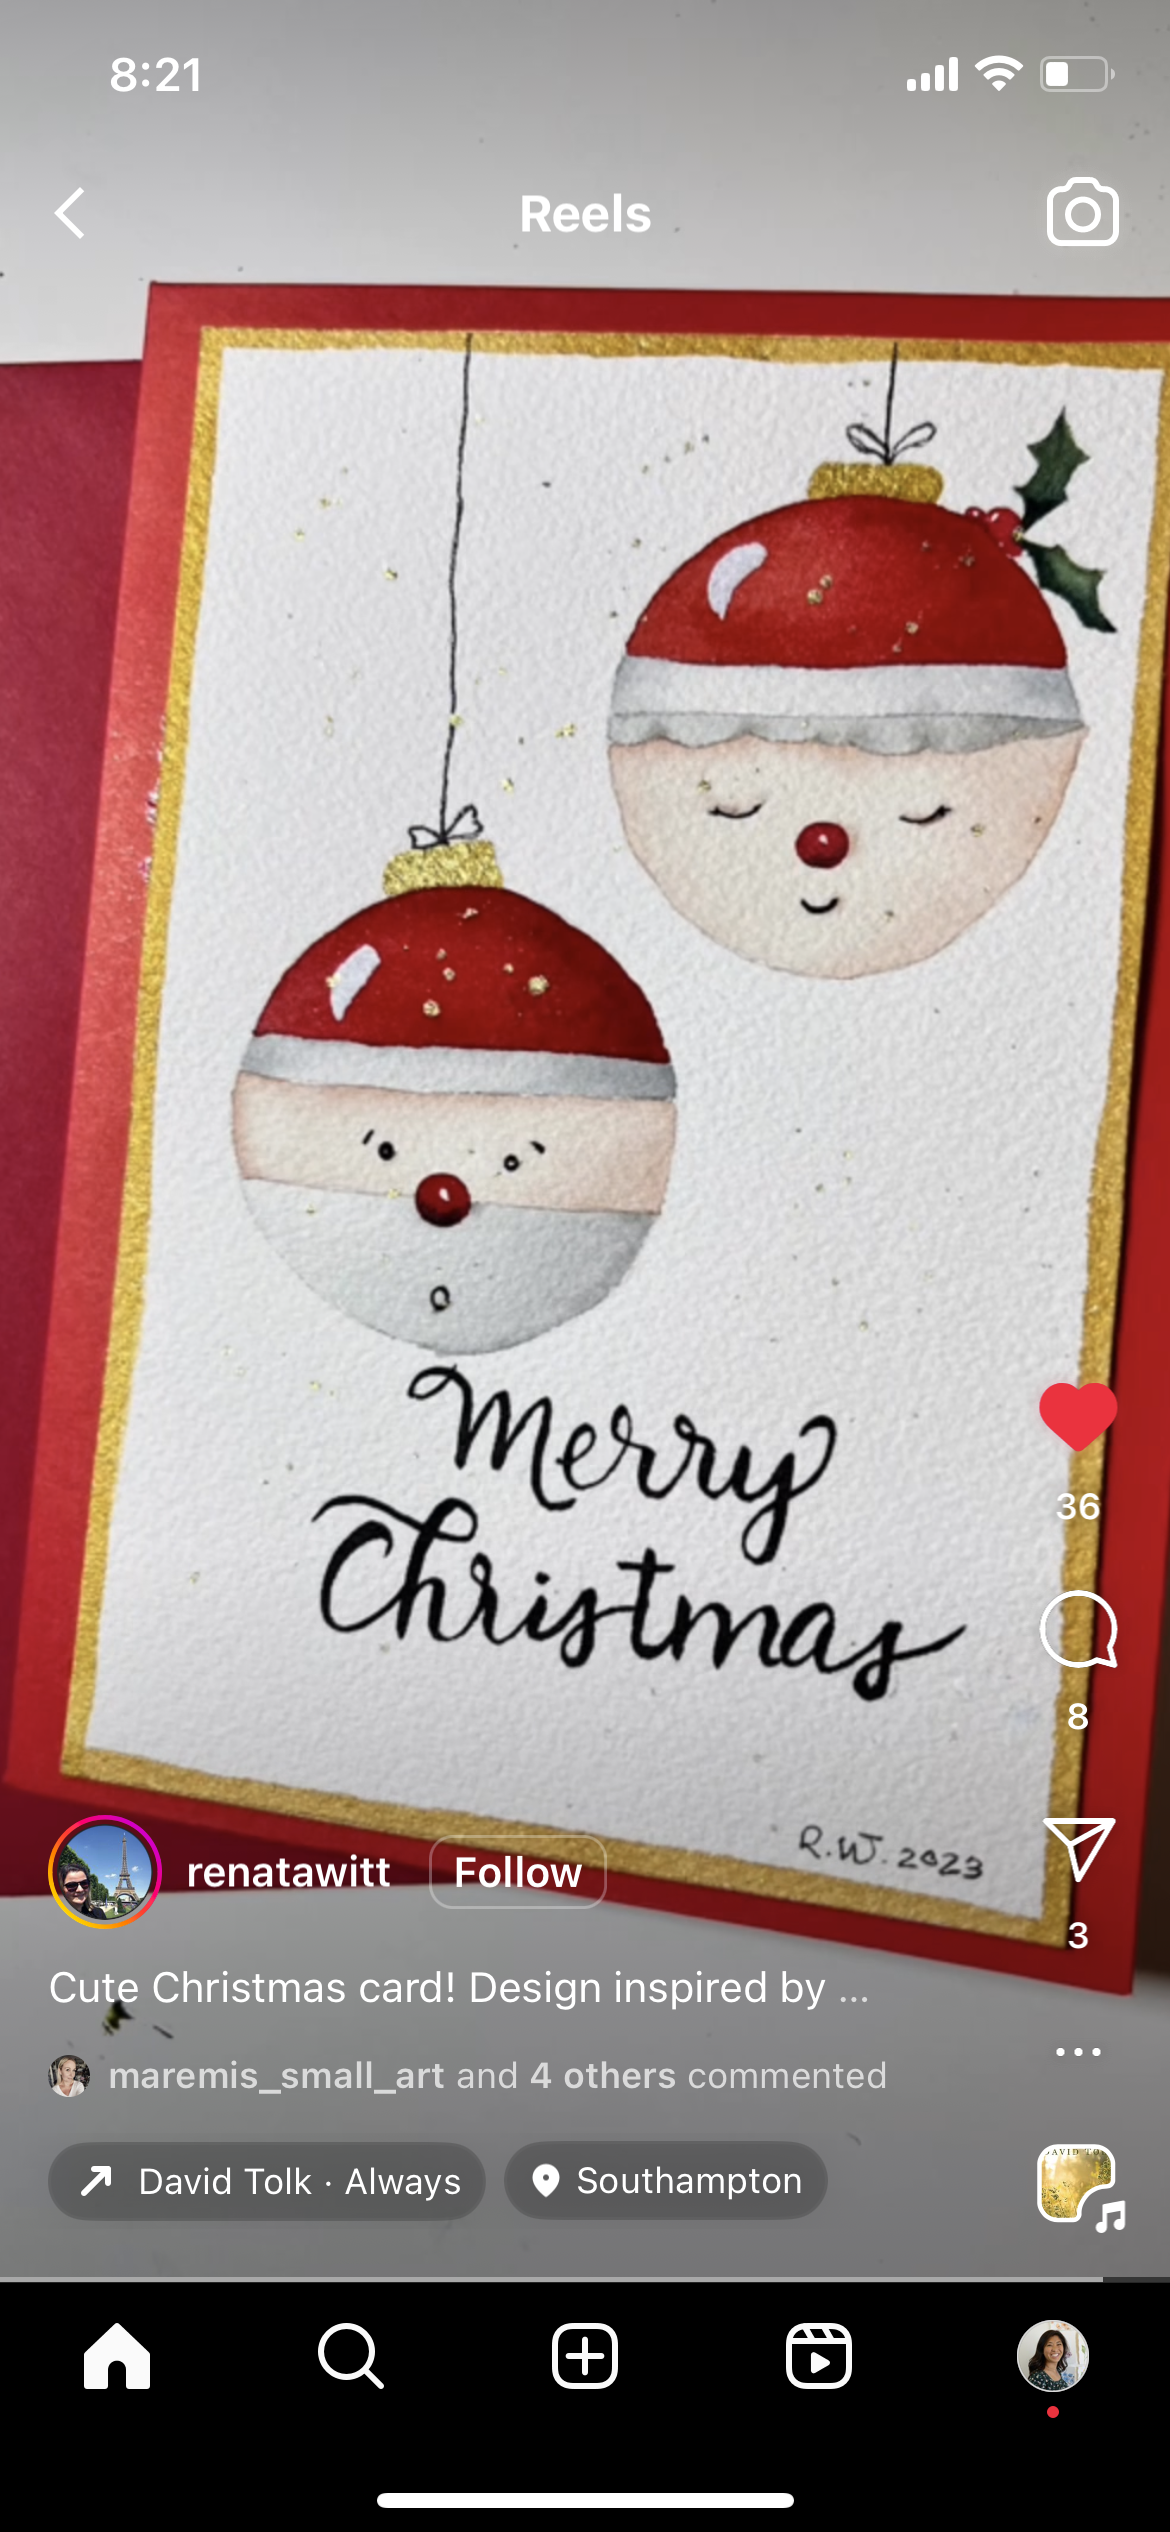
Check out what others have made!
-
![]()
Terasa
-
![]()
Samantha
-
![]()
Deb
-
![]()
Jessica
-
![]()
Renata

Here’s how it works:
1) After purchasing, you will receive an email with a link to download the Merry Christmas & Happy Holidays Workbooks.
2) Print them out on computer paper.
3) Use the layout templates to make cards.
4) Send out your cards and watch people light up when they hold something you made!
-
You can use any computer paper you have. You don’t need anything fancy!
-
Is there a family member or your neighbor you can ask? Or maybe your work or your local library. If those options aren’t available you can go to your local FedEx or Staples and print it there.
-
Not at all! I suggest you use a pencil for the workbook, but when you letter on your cards, you have creative freedom to use what you prefer.
Here are a few supplies I love:
-
I recommend a light pad so that you can easily trace your lettering from the workbook on your final cards. But if you don’t have one you can use a window with light through it.
Got Some Questions?
HERE ARE SOME ANSWERS!
-
Yes! The workbook breaks it down step-by-step and the template boxes included are designed to eliminate common frustrations.
-
I truly believe so. We are not focusing on “thin on the up, thick on the down” with traditional lettering. Instead, we are playing with the loops and swirls of letters to help you draw and design your letters rather than “write” them.
-
In the workbook I do not, but I will be sharing simple cards to make on my instagram @nicolemiyuki. The reason why there aren’t step-by-step painting tutorials is because I want you to be able to use this lettering guide to fit in with your own painting style. Whether that be watercolor, markers, acrylic or bullet journaling!
WHAT PEOPLE ARE SAYING:
"Everything was wrapped up in the comfort and expertise of Nicole, who is right there cheering you on. She strikes a balance of instruction and encouraging your own lettering style to emerge and it immediately removes all of the pressure."
- Lauren